Pumpkin Blondies (GF)
Pumpkin Blondes (GF)
1 cup unsalted butter (softened)
1 1/4 cups granulated sugar
1 egg
2 tsp vanilla
1 cup pumpkin puree
2 cups gluten free flour
1 tsp baking soda
1 tsp kosher salt
2 tsp pumpkin spice
1 1/2 cups semisweet chocolate chips or morsels
Preheat oven to 350˚F. Prep a 9x13 sheet pan with grease and parchment paper.
In a stand mixer, cream together butter and sugar, scraping down the sides as needed. Add egg and vanilla and mix to combine. Add pumpkin puree and mix. The batter will look curdled, but mix until there are no large chunks of butter left.
Slowly mix in flour, baking soda, salt, and pumpkin spice to bowl. Batter will be quite thick. Fold in chocolate chips, setting aside about 1/4 cup as a topping.
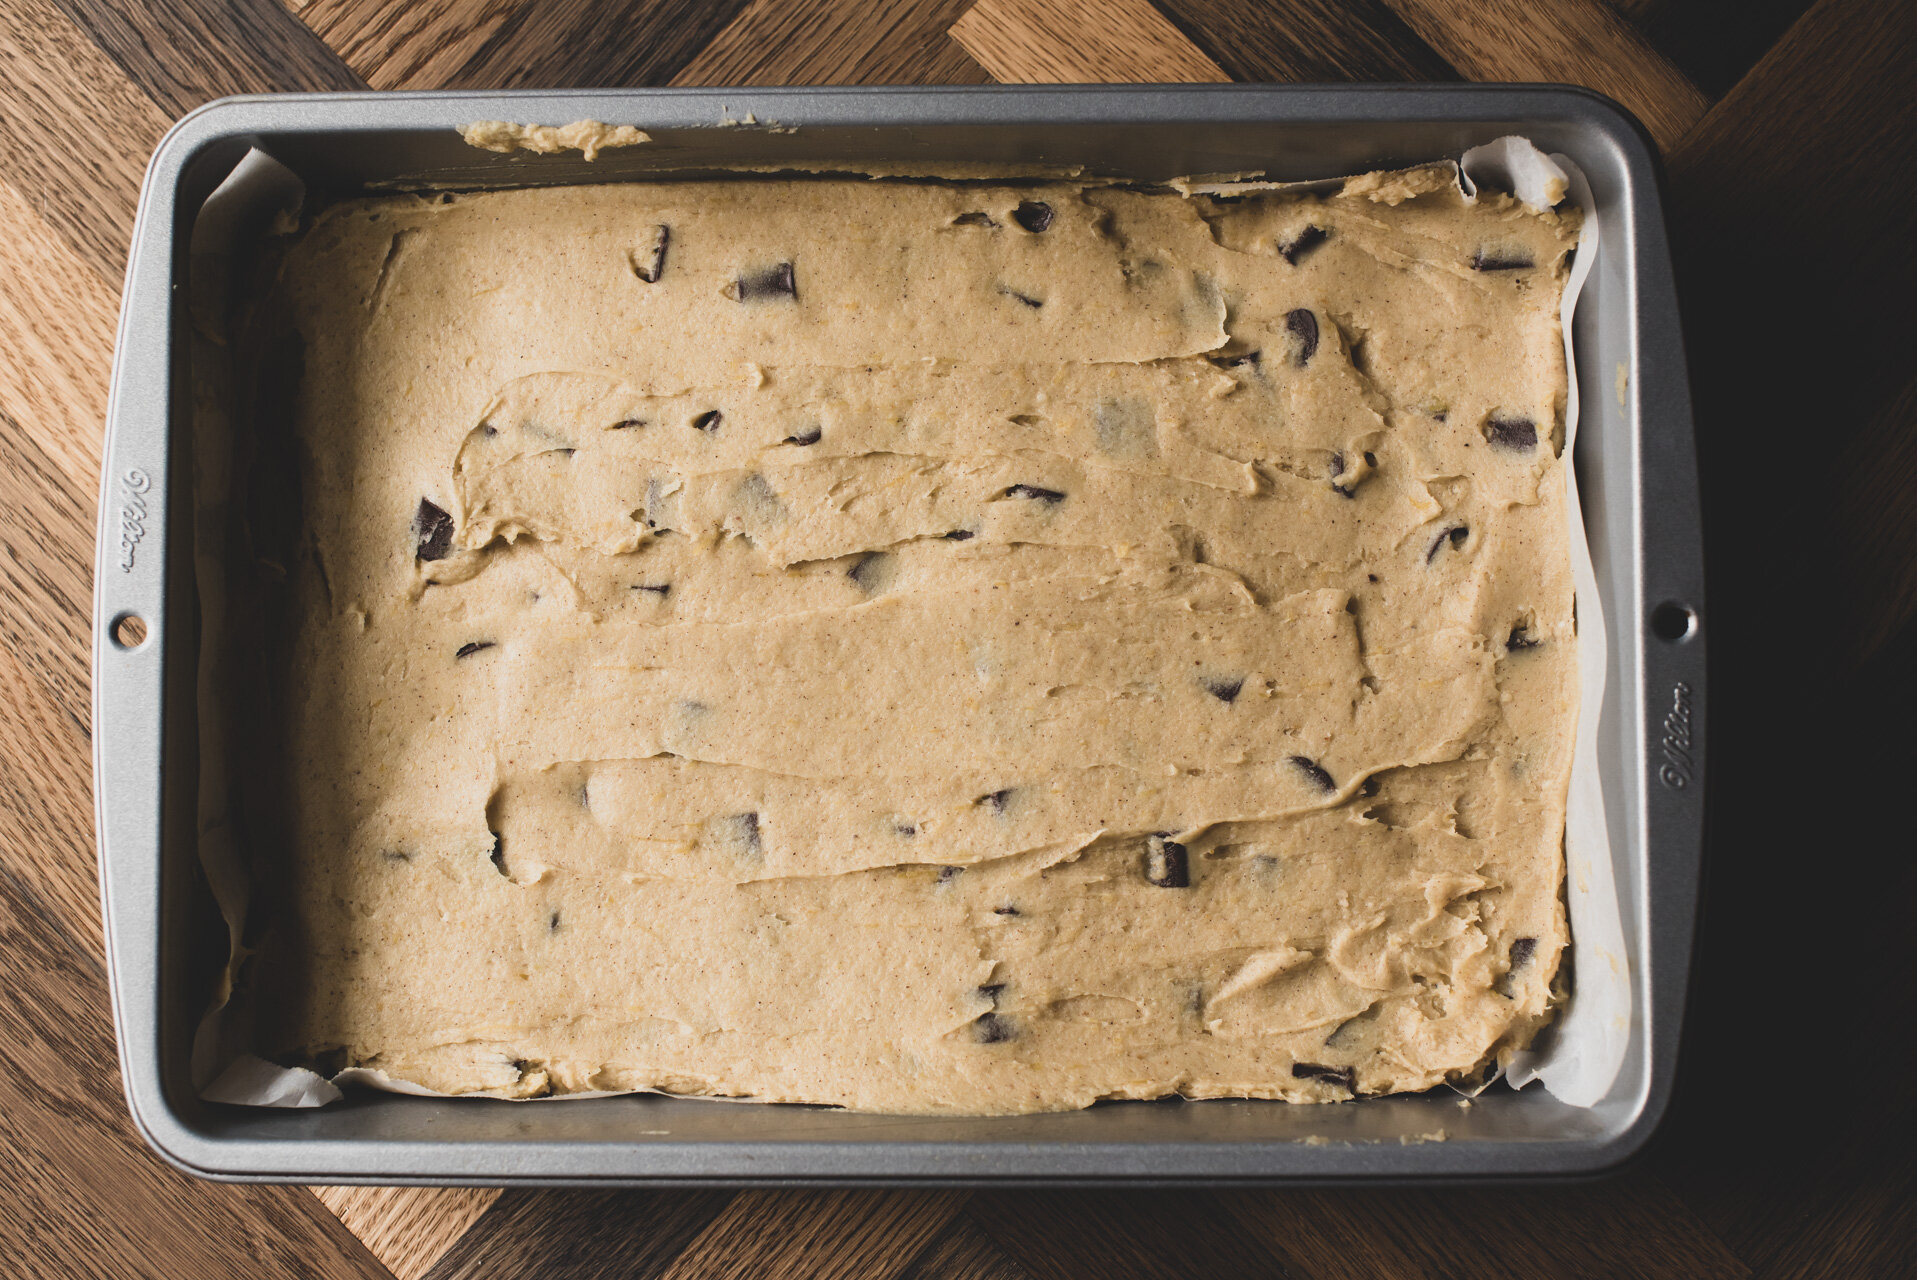
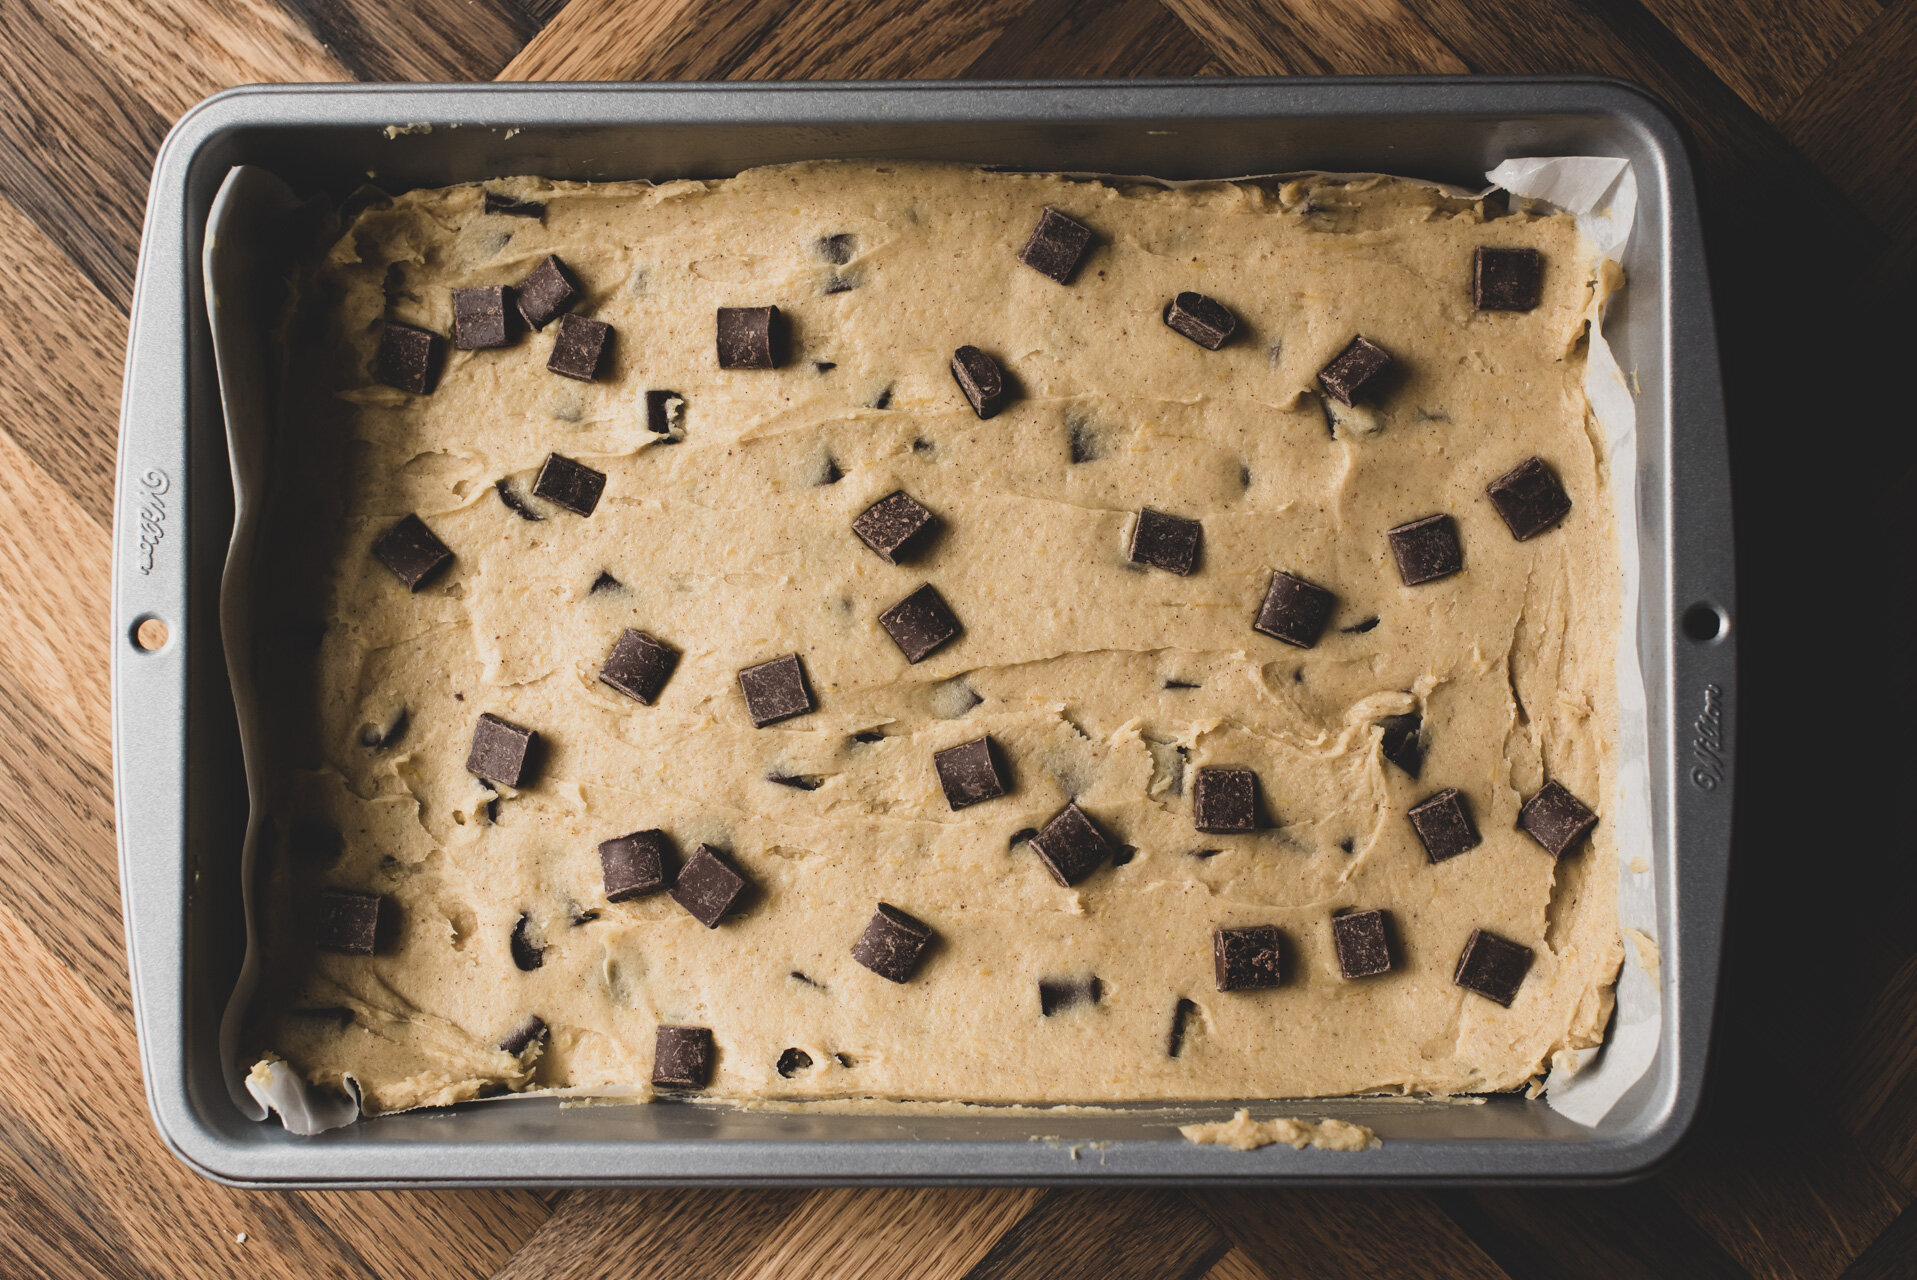
Scoop batter into prepared sheet pan and use a spatula to spread and flatten batter to distribute evenly. Sprinkle remaining chocolate chips on top.
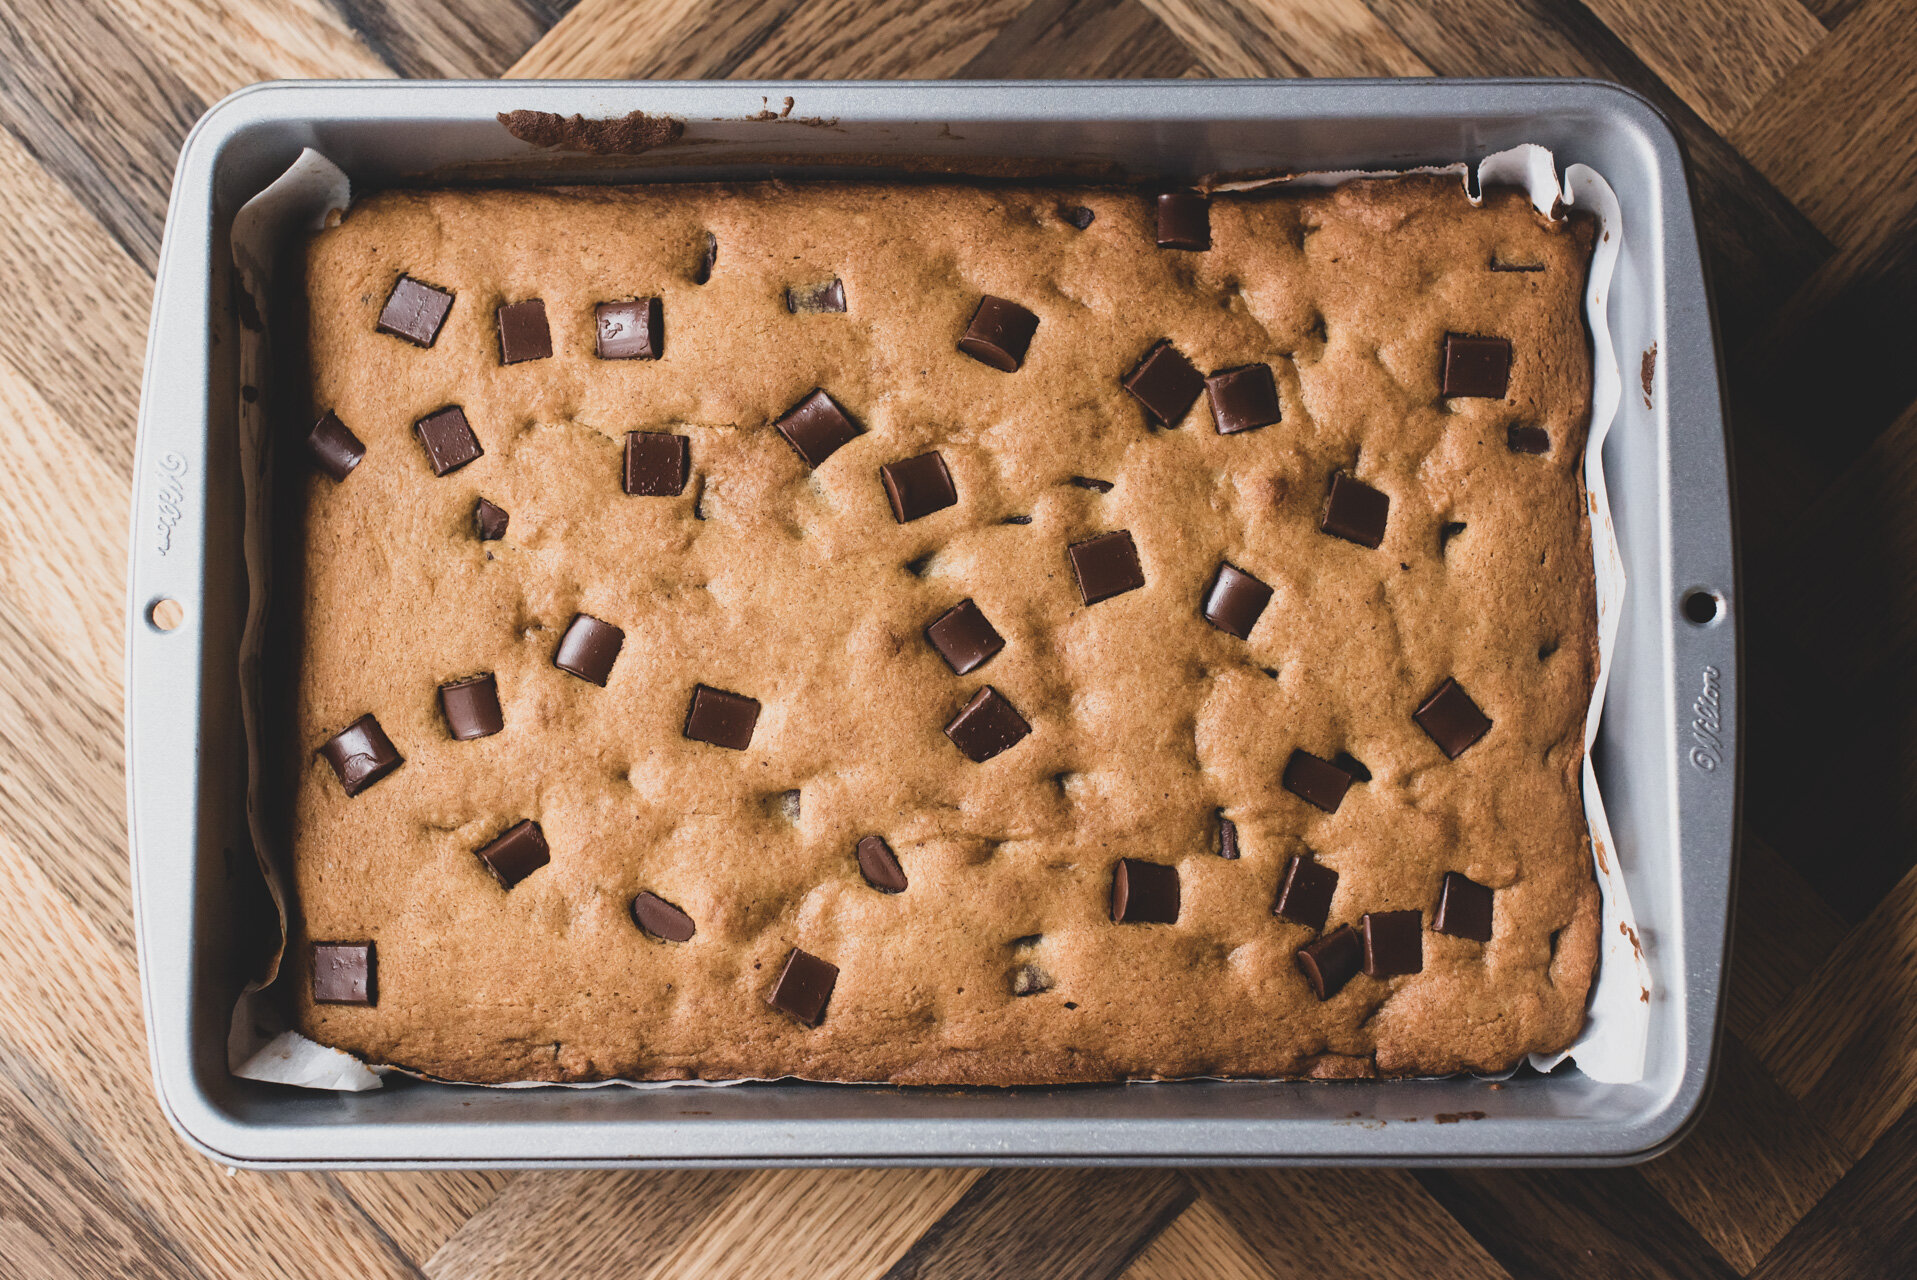
Bake for 30-34 minutes until edges are browned and center is set.
Let cool for 15 minutes before slicing.
It’s Fall now. It’s raining and chilly. My feet are cold. The leaves are wet. I’m ready for endless couch snuggling.
It’s been sort of hard to come back to work. I think I mostly just don’t want to talk about why I was on hiatus. Although I’m ready to start creating again, I’m not ready to get into all the details of depression, anxiety, quarantine, self-worth, blah blah blah. I know everyone says it’s great to express yourself and to be open, and while that isn’t untrue, I also don’t owe anyone anything. I don’t mean that to sound as harsh as it does, but part of taking care of your health, mental or otherwise, is to realize that you don’t have to get into it. So, maybe later, but for now I just want to talk about dessert.
I don’t consider pumpkin to be my favorite flavor, but when the leaves start falling and it gets cold, I want to warm up by turning on the oven and making something cute and yummy. Pumpkin just happens to be the coziest sounding ingredient right now! My mind is just swimming in pumpkin-y thoughts. Pumpkin cheesecake, pumpkin pie, pumpkin streusel muffins, pumpkin scones, pumpkin custard…
Since things have been not so comfortable lately, I wanted to start with baking something easy and warming. Something that isn’t too finicky and in the end smells like home and is a cozy, gooey treat that you can have with a hot cup of tea.
Canned pumpkin has been sold out at my local grocery store, so I’ve been roasting fresh pumpkins and blitzing them up into puree. I should have gone for that method to start, but I thought doing canned would be less work. Once I started though, I quickly remembered how easy it is to make pumpkin puree. My husband, who is a big fan of more savory treats like pumpkin, said the fresh pumpkin is much better than canned anyway, and prefers it. So, good thing I couldn’t cheat and get canned!
I tried a slightly different roasting method with the puree I made this time. I read that it’s beneficial to coat the skin of the pumpkin in oil and sprinkle on salt as well as poke some holes with a fork or knife. It was so smooth and soft! It was also a smaller pumpkin than I had used before, so there were a few things going for me here. I’d like to do a couple tests and see how the two methods compare with the same pumpkin, and if the oil and salt make a big difference, I’ll update my pumpkin puree resource post.
UPDATE: Yes! It does make a difference. The pumpkin with oil, salt, and vent holes came out much, much smoother and was so fast to puree! It also helped to have the flesh face down. I think the heat gets trapped under the pumpkin that way and helps it cook faster. Without these changes, it takes a lot longer for the puree to come together and it is a big stringy.
These blondies make me think of a big rectangular cookie. The edges get that drool-worthy crispy brownness that a good chocolate chip cookie has. Man, I need to get one of those edges only pans. The crisp edge in combination with the soft, almost gooey center is ughhh.
This recipe is one that you can pretty much just throw all in a bowl and let it take care of itself. You can mix the liquid and dry ingredients separate if you’d like, of course!
SO
You just toss in some softened butter and the sugar into your stand mixer and let it cream together until smooth. Make sure to scrape down sides a couple times so everything comes together. Add in the egg and vanilla, then the pumpkin puree. Pretty gross, huh? Yeah, the addition of the pumpkin makes everything lumpy and sort of curdled looking. I mean, very curdled looking. It’s not though. Nothing is wrong! They just aren’t ready to be friends yet. I think that if all of your ingredients have come to room temperature, this might not happen, but I never remember everything that has to come out of the fridge (if I’m lucky, I’ll remember the butter, but I never think of eggs or milk…).
Once everything is good and gross, throw in your flour, soda, salt, and spice. Be aware, that this is a lot of dry stuff in your bowl now! If you don’t go in cautiously, you’re going to throw flour all over yourself and the counter and the floor and the wall and on your slippers… I like to do this thing that is kind of like making a false start with your mixer. You quickly flip the on/off switch back and forth so that the motor turns on but can’t get to full power before it’s shut off again. I do this a couple times, just to get a couple half-hearted stirs in there so the flour gets a bit wet. This will help it stay contained.
Mix it up until you can’t see anymore flour. Not gross anymore! Throw in some chocolate (I like the morsels) and give it a couple turns to distribute them. You can also fold them in by hand, but the batter will be VERY thick at this point and I’m not strong enough to fold without hurting myself.
Since this batter definitely is not pourable, you’ll have to scoop it out into your pan. It doesn’t like to spread either, so what I do is take my biggest spatula and press the batter into the edges and corners with a final sweep over the top to make it even. Toss some chocolate on top and press them into the batter a bit, and then you’re ready for the oven!


Bake your blondies at 350˚F for about 30 to 34 minutes. You can’t really check doneness with a skewer since the middle will be gooey and soft, so you want to check the color instead. The blondies should reach a beautiful toasty brown color and the edges will crisp up a little.
Do your best to let these cool before you slice into them! But if you can’t, I totally get it.


